A recent project that I worked on introduced Prisma to our stack, an ORM-like layer that does the heavy lifting in your GraphQL server. Rather than diving deep into what Prisma is and how it operates, this post will guide you through using Terraform to automate & deploy the entire stack — The Prisma server & the AWS resources needed to support it.
If you prefer using CloudFormation for IaaC, there’s already an awesome tutorial for you.
What is Prisma?
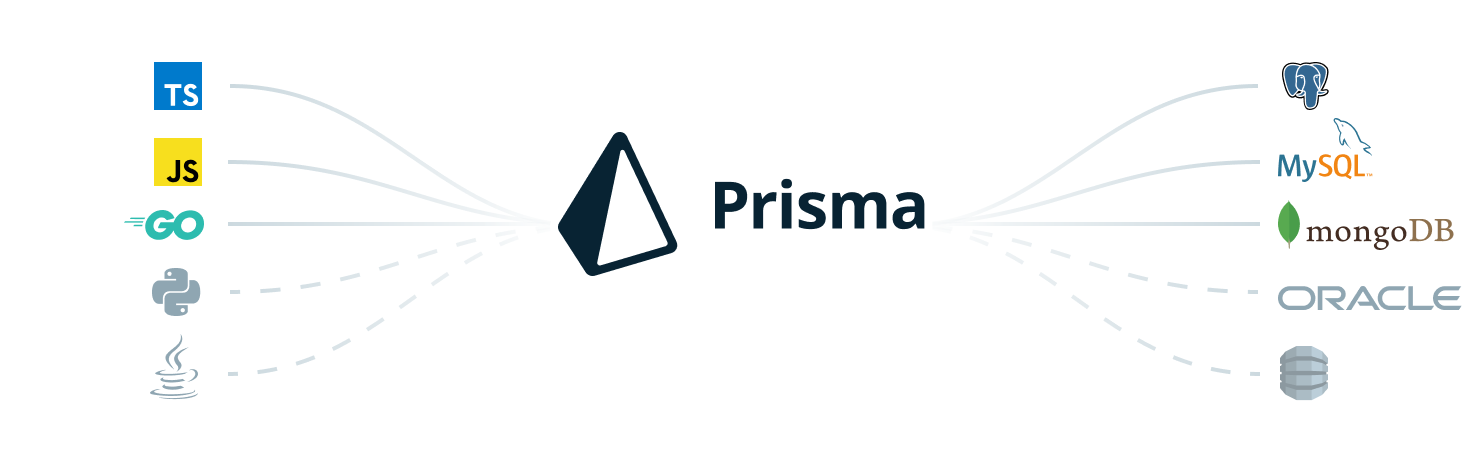
Prisma replaces traditional ORMs and simplifies database workflows. It is used to build GraphQL, REST, gRPC APIs and more. It supports PostgreSQL, MySQL and MongoDB. Essentially, it is a standalone infrastructure component that sits on top of your database, and ultimately enables you to talk to your database(s) through a simple and modern API ensuring highly performant and secure database access. We will be using PostgreSQL for this exercise.
- The AWS Stack
- VPC
- ECS (Fargate)
- RDS (PostreSQL)
- ALB
- CloudWatch (Logs)
- Security Groups
Getting Started
Here’s a few things you’ll need before we start building our modules:
- Terraform version
0.12 - ACM public certificate
If you haven’t upgraded Terraform to version 0.12 yet, you should, and take advantage of all the new features. The final product of this post is NOT meant to be production ready. Meaning, there are better ways to handle secrets & not having them in plain text. There might also be additional IAM roles, policies and security groups that you need to create to help lock down your infrastructure. And you should also structure your Terraform projects in such a way that your modules are reusable across all of your environments, which ultimately keep your Terraform code DRY. There’s a section below that touches on this subject. You should also not name your database password password but that goes without saying :)
Remote State
The first thing you should probably create is your state file. In this tutorial we will be using a remote state file stored on S3, with state locking provided by DynamoDB.
Provider
You’ll also need the AWS provider to interact with the many resources supported by AWS. Make sure to change your profile as needed.
VPC
Next, we create our VPC, which will consist of 2 public subnets, 2 private subnets, an internet gateway, a NAT gateway, & route tables. I’m launching this stack into us-west-1 so adjust accordingly.
ECS
Here is the Prisma ECS task definition template in JSON format. Note that the PRISMA_CONFIG environment variable contains key value pairs of strings which Prisma parses as YAML. For this we can interpolate any values of our choosing using Terraform’s template_file data source (See ECS module).
Next, we create our ECS cluster. ECS consists of a cluster, a service, a task and a task definition. You can think of a cluster as a logical grouping of containers. A service is essentially the scheduler, and is in charge of making sure that the specified number of tasks is running at all times. The task is the running container instance. The task definition is like a Docker Compose file, and contains the container configurations. More on ECS here. For now we are specifying the desired count as 1, but you can easily change this to 2 (or more) for higher availability. You’ll also notice a CloudWatch log group is being created here, which Prisma will output logs to.
ALB
Next, we create our ALB. The load balancer distributes incoming application traffic across multiple targets, which in this case will be the running ECS tasks.
RDS
Next, we create our RDS instance. We are using PostgreSQL as our Prisma database connector.
Variables
Next, we can define our variables. It’s nice to pretty up your variables.tf by adding descriptions and default values if applicable.
And lastly, we can create our input variables file. I will be naming it input.tfvars. Make sure to update prisma_server_acm with the ARN of your ACM certificate. Depending on how the rest your infrastructure is set up, you can also use a terraform_remote_state data source or perhaps an output value to retrieve the ARN of your ACM if it’s handled by Terraform. For now we can just hardcode it.
Plan & Apply
Once this is all set up, the magic begins…
Initialize your working directory if you haven’t already with:
terraform init
Next, create your execution plan:
terraform plan -var-file=input.tfvars
This should yield:
Plan: 32 to add, 0 to change, 0 to destroy.
Review the plan, and if all looks good, apply the changes:
terraform apply -var-file=input.tfvars -auto-approve
Time to go grab a coffee or a snack. This might take a while. But rest assured when you get back, and by the grace of the Terraform gods, all of your AWS infrastructure and Prisma should have been automagically deployed! Woo!
Apply complete! Resources: 32 added, 0 changed, 0 destroyed.
Navigate to your ALB endpoint and you should see your Prisma server up & running!
Reusable Modules
If you have multiple environments that you plan to deploy to, you can structure your repo in such a way that your Terraform modules are reusable across dev, stage, and prod. You can even put your modules into a separate repo entirely. Your project structure should end up looking something like this:
stage
  └ tasks
     └ prisma.json
  └ main.tf
  └ input.tfvars
  └ secrets.tfvars
prod
  └ tasks
     └ prisma.json
  └ main.tf
  └ input.tfvars
  └ secrets.tfvars
modules
  └ prisma-cluster
     └ alb.tf
     └ ecs.tf
     └ variables.tf
  └ prisma-rds
     └ rds.tf
     └ variables.tf
And your main.tf should now look something like this:
Conclusion
The purpose of this post (and it’s my first one!) is meant to be a learning exercise, hopefully for you, but also for me. I would really appreciate any feedback that can help me as well as others going forward. That being said, my experience with Terraform has been nothing short of amazing and I hope it is for you too!